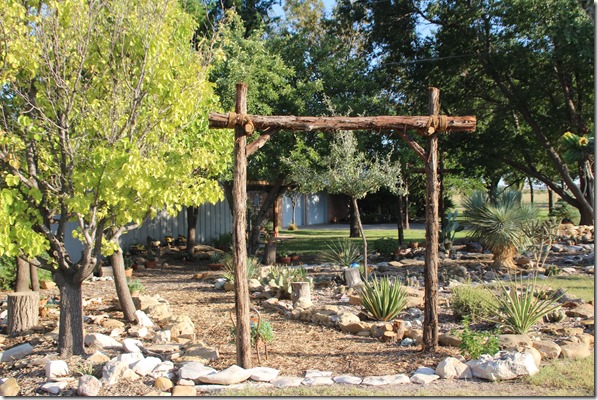
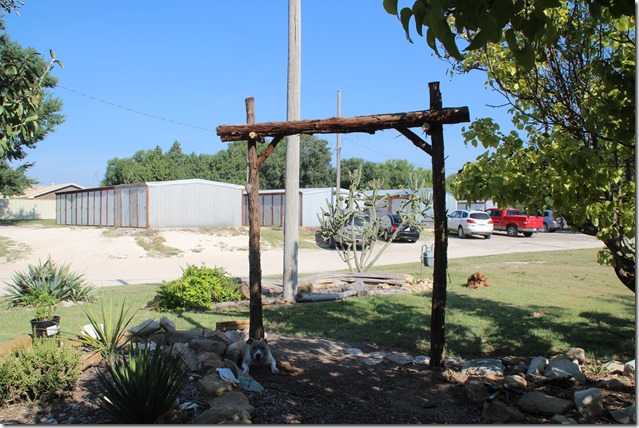
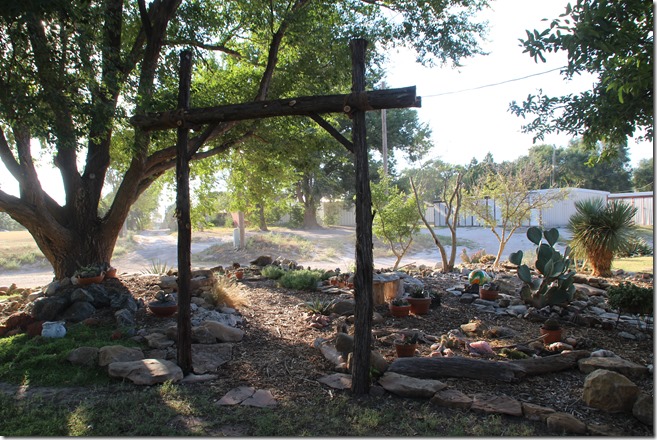
We recently added two new features to my cactus garden, cedar post arches that invite you to meander through its pathways. I shared the genesis of these rustic portals yesterday-“Look What My Husband Built for Me!”-The Bright Lights of Muleshoe, September 15, 2015, and promised to follow up with a bit more detail and instruction for those so inclined to install something similar in their garden. And even if you didn’t read that first chapter, you still might be interested in having something new in your garden, and a new entrance might be just the thing.
First you need to decide on what material you want to use for your arches. I chose cedar posts because their rustic quality matched the mood and style of my southwest xeriscape landscaping. Plus, as the bark wears off and the wood weathers and ages, it takes on a smooth, satiny gray patina that I like. The wood for the first arch came from a man in Clovis, New Mexico, who builds pergolas and patios out of a variety of woods; wood for the second arch came from a cedar yard in Lampasas, Texas, in the Hill Country where cedar is plentiful. Fancier or painted posts could be used, as could metal, I suppose, so choose something that fits your garden.
I wanted my entrances to be tall enough for everyone in the family to walk through easily, and since my son-in-law is the tallest person in the family, over six feet, I bought ten-foot posts, which allowed for two foot of the length to be buried in the ground leaving plenty of room for him and everyone else to walk through after the top pieces were put on. Posts are bought according to the diameter of the post at the bottom, and these measured six inches. Two posts are attached at the top and they were a little smaller, eight feet long and about four or five inches in diameter. The braces were six feet in length and two inches in diameter. Your materials could certainly be of different measurements, but this gives you some idea of where to start.
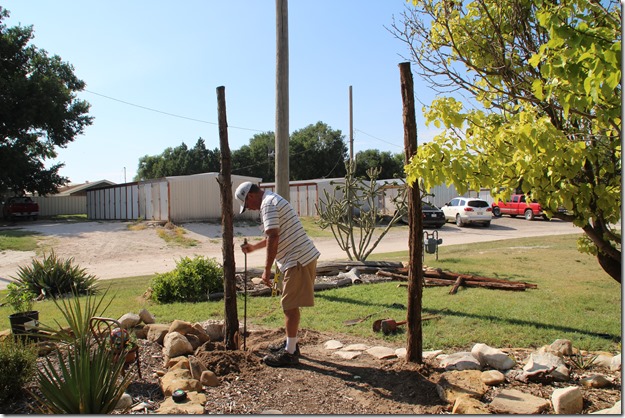
Measure how wide you want your entrance and start on the fun part-the post holes! My sharpshooter shovel and I actually dug the first two holes, with the help of liberally wetting the drought-hardened ground with the water hose first. After measuring to make sure the holes were two feet deep, we stood the poles up in them, added the dirt back in as we checked to see that we had them standing up straight. Bill then used a tamping tool to pack the dirt around them.
Now you are ready for the hard part-adding the top poles. And this is where I can’t give you much instruction. This is where you rely on your fence builder’s experience and skills to get the job done. We did lots of measuring, leveling, and marking before drilling holes for the long screws and getting it all together. I will say that screws and a power drill work better than nails and a hammer since nails split the wood more often than screws and it is easier to screw in long bolts with a power drill than hit a post with a hammer,
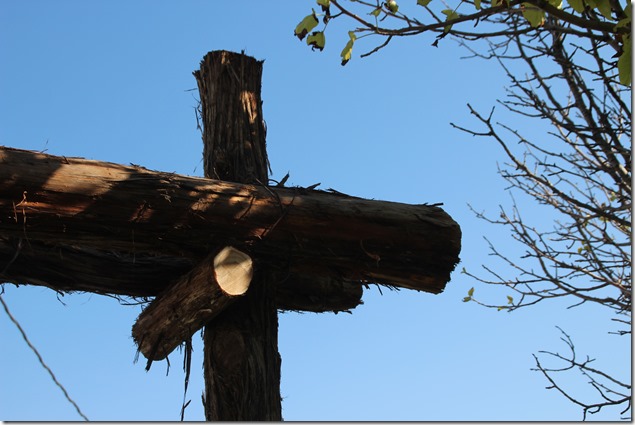
The plan did not originally include this little short piece cut from the six-foot brace post, but it helped hold the top posts in place during installation, and we hope give it stronger support over time. Next came the slanted pieces cut from the rest of the six-foot post.
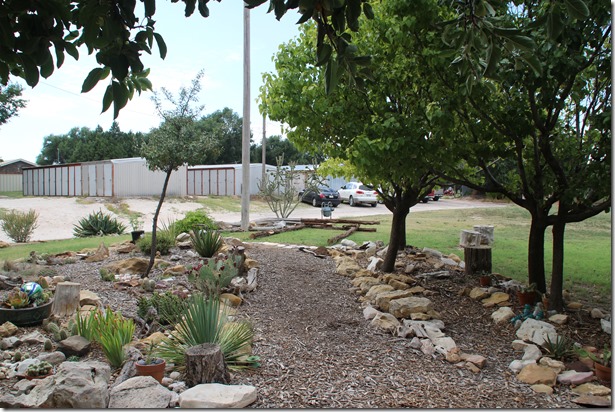
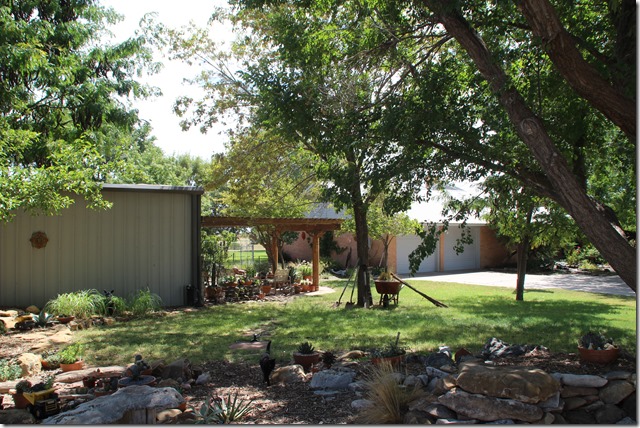
The second arch went on the other side of the garden and was a little easier because of knowledge gained from the first one. This is the before shot.
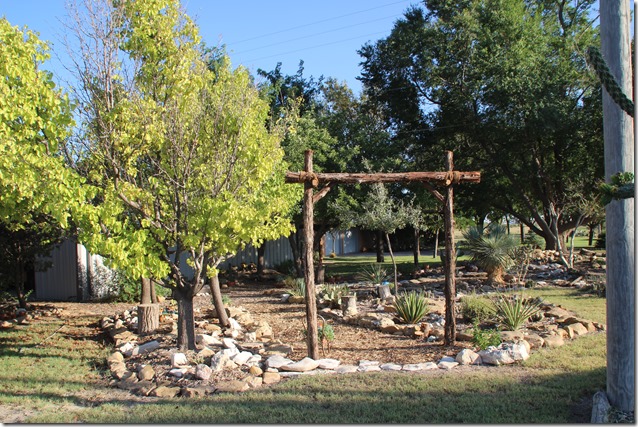
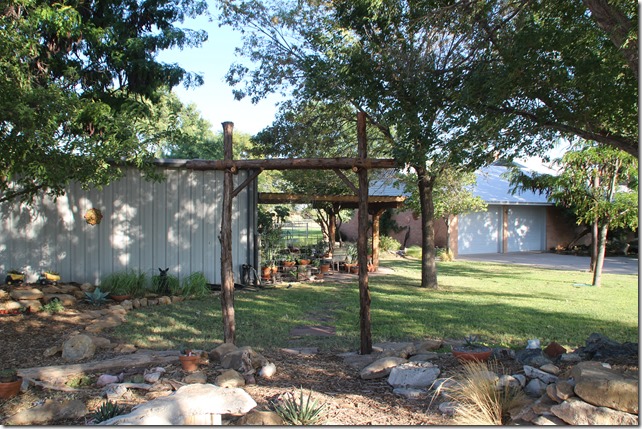
And this is what it looked like after. But I wanted to wrap the joints with leather or rope or twine or something like that to give it a finished look. Leather or rawhide strips proved to be a bit expensive, considering how much it would take and probably wouldn’t last long, so coconut fiber rope is what we settled on. This was one thing that I could do, so I pulled up the ladder and with rope and nail gun loaded with staples in hand and set to work.
Well. Easier said than done. First I had to learn how to hold the staple gun just right to hit the rope where I needed it anchored to the wood. Then I had to decide what kind of pattern I would follow wrapping the posts.
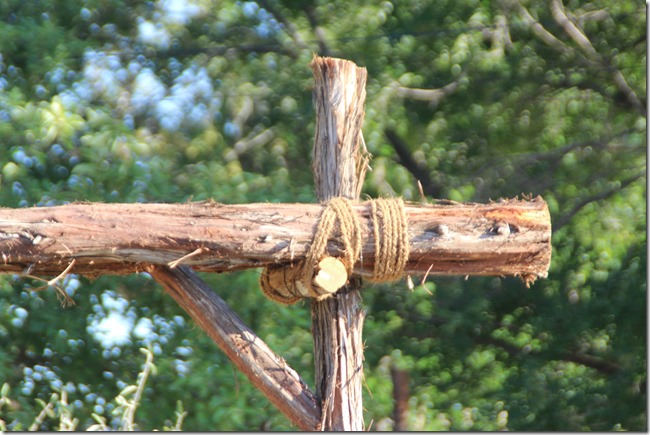
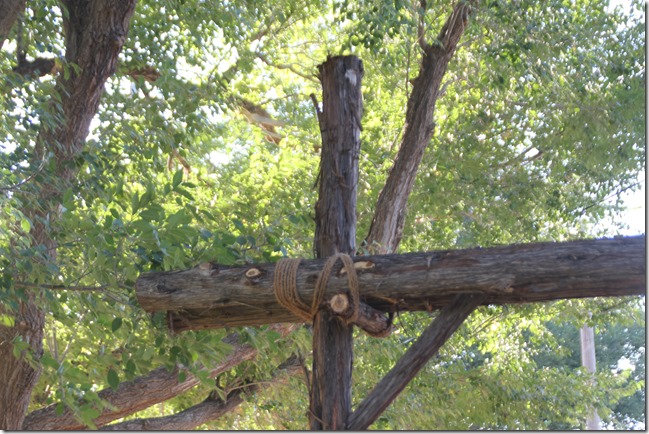
Several frustrating failed attempts later, this is what I finally came up with:
Not what I had in mind, but there it is. Maybe by the time the rope disintegrates, I will have learned a better way to do it.
So if you are ready for a fairly simple, not terribly expensive addition to your garden, this is one idea. Get after it.
Recent Comments