Now that it’s almost time to replace pumpkins with snowmen, I’m finally getting around to showing you a way to decorate that pumpkin before you toss it.
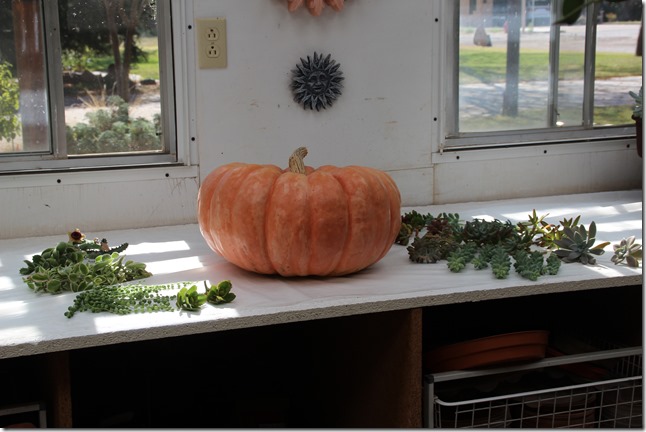
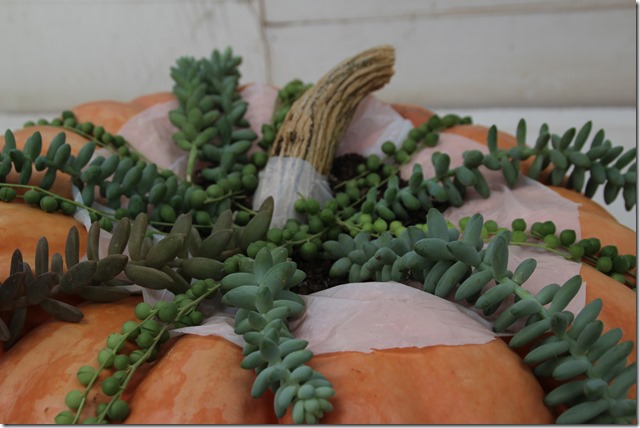
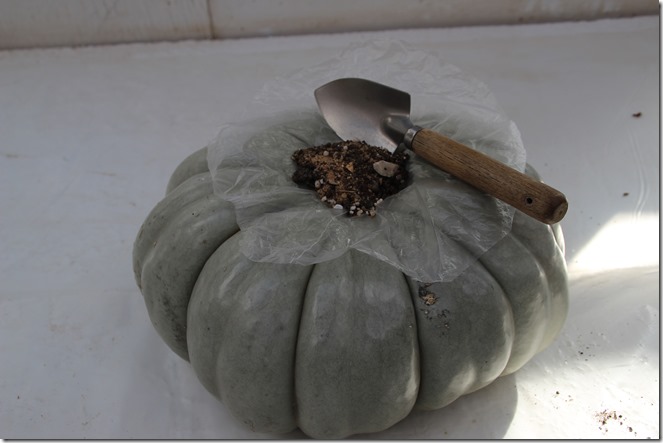
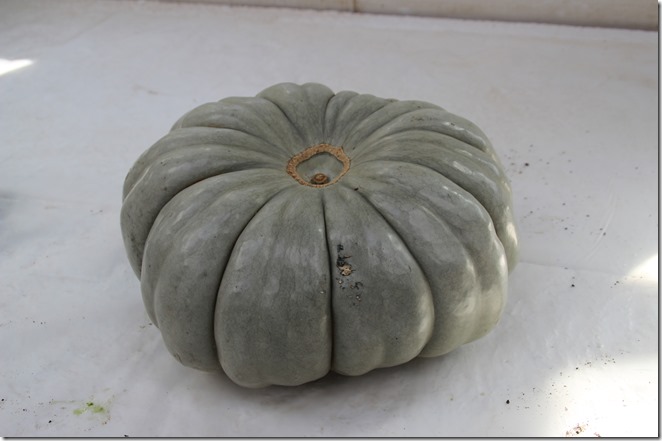
Now it does help if you have a fairy tale or Cinderella pumpkin because they have a deeper well where the stem is, which gives you more room to put the succulents, and they come in a variety of colors and are just really fascinating pumpkins! This is my first experience with these exotic vegetables, but I was told that if you don’t cut into them and if they don’t sustain an injury that breaks the surface of the pumpkin, they will last one or two years and you can use them again. Few of them have no blemishes, but look for and avoid soft spots. Their meat is very dense and hard, and they don’t decompose like regular pumpkins do. So I didn’t cut into this one to see if in fact I can keep it in tact for next year. If you use a conventional pumpkin, I suspect you might need to scoop out some of the top of the pumpkin to make room for plants, knowing it will eventually get soft and shrink into itself, just like they do when made into jack-o-lanterns. Your choice. If you actually cut into your pumpkin, I would suggest you line the hole with a layer of plastic to protect the rest of the pumpkin and hold the dirt. I put a layer of plastic on this one to protect it from the water that I will spray the plants with as I use it for decoration. I also left the stem on this one, thinking it would add interest. What it did was make it harder to add the cuttings.
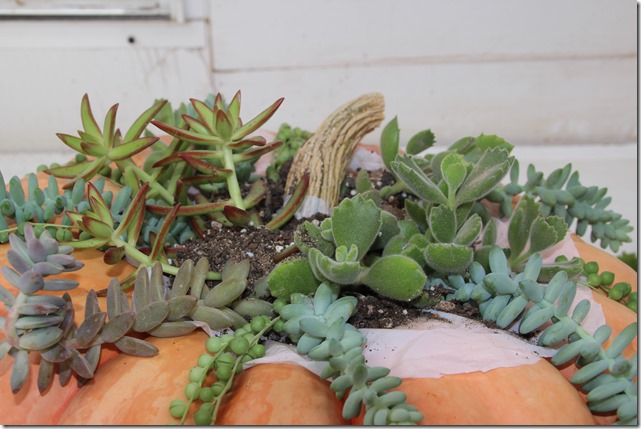
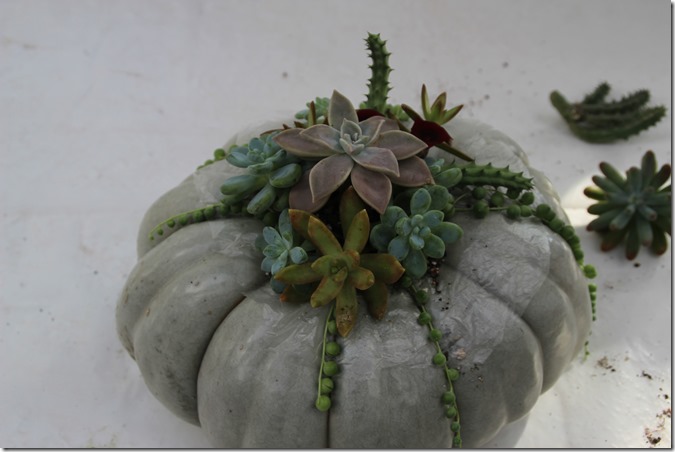
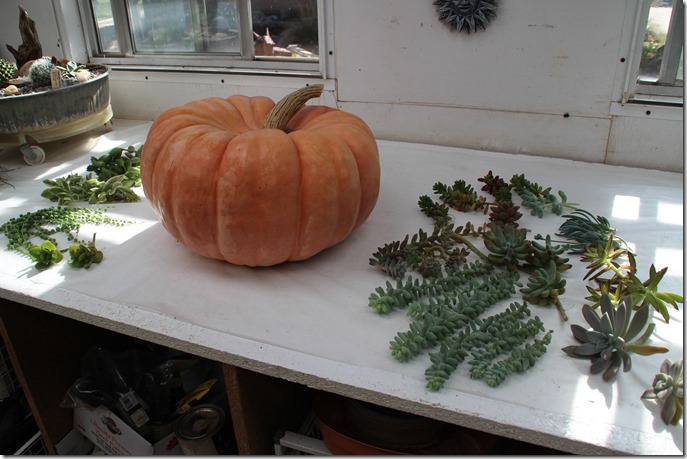
And I did use cuttings rather than rooted plants. Rooted plants just take up more room and the cuttings are easier to slide in and layer as you go. But I suppose you could use rooted plants if you want to. Start out with the bottom layer of long pieces that trail down the creases in the segments of the pumpkin. Then start adding clumps and rosettes of other succulents , building as you go. adding dirt to hold down each layer of cuttings.
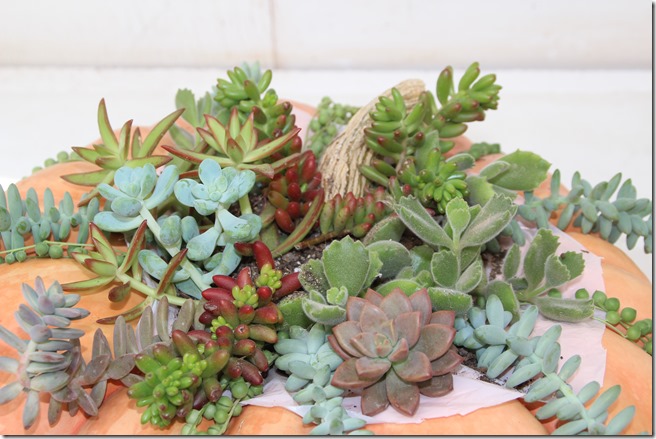
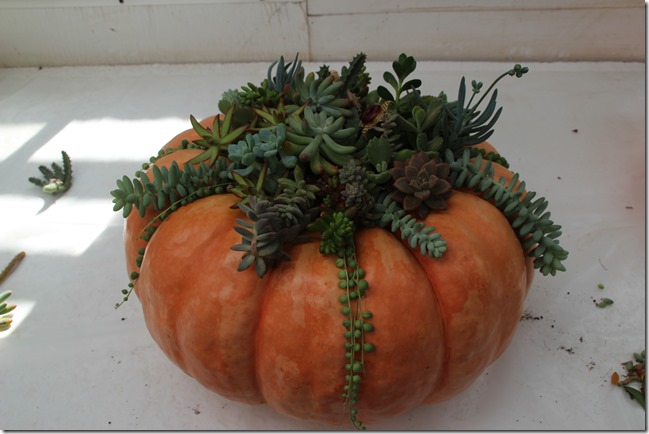
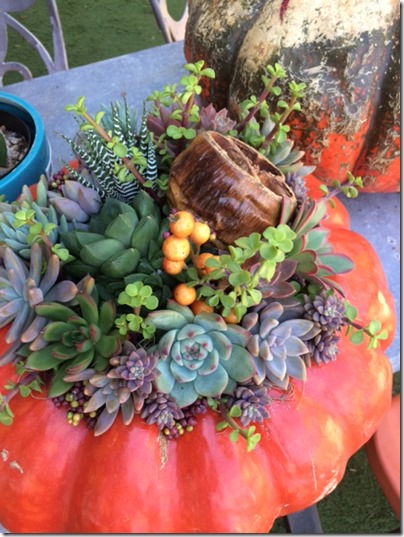
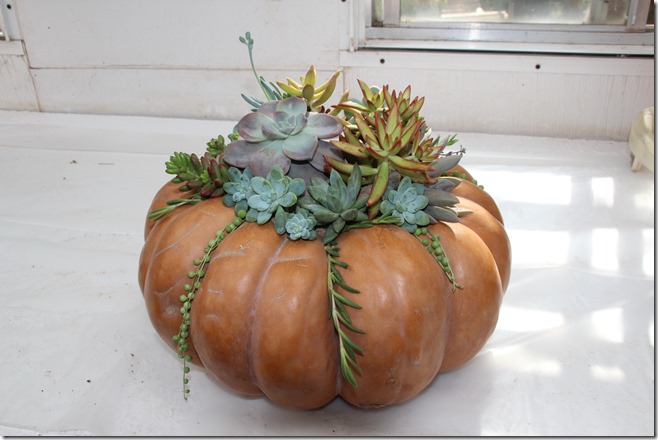
And there is your finished creation. I did go back and add a rosette right in the middle to cover that patch of dirt. But that is the cool part; build and change as you go. And I tucked in the plastic that showed and it worked just fine.
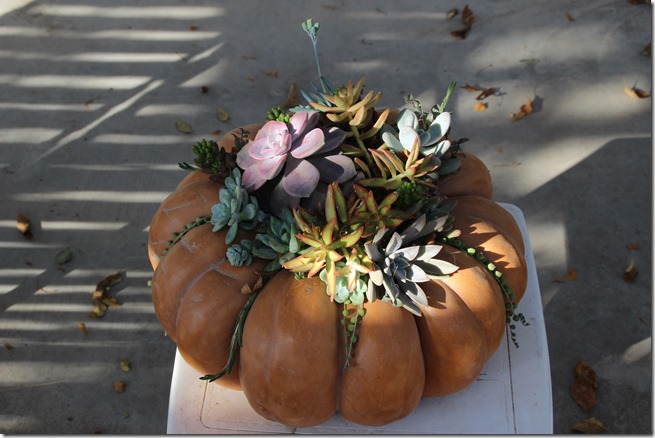
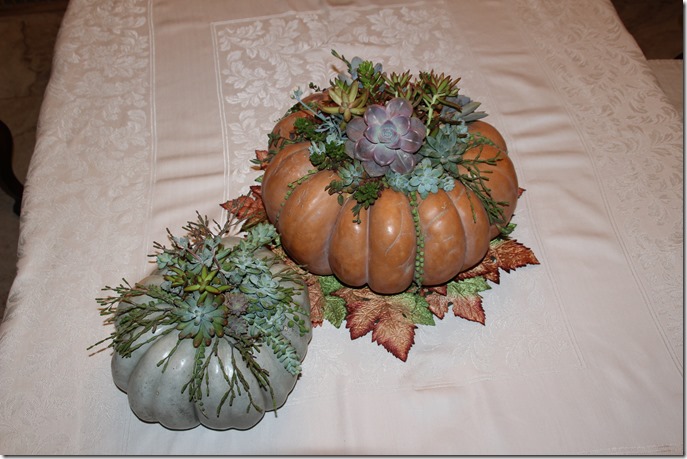
I did a second pumpkin and it turned out like this.
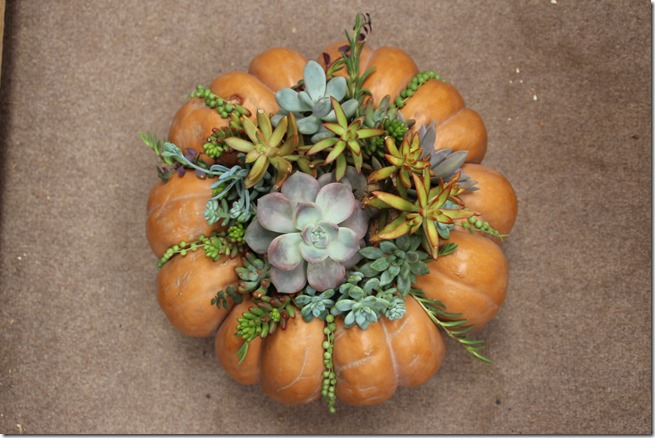
Here’s another view. None of these pumpkins are varnished or waxed, just wiped off and polished with a dry cloth before planting.
Then I tackled a smaller blue pumpkin. I put a layer of plastic on it, which just slid around because the well wasn’t deep enough. When I couldn’t keep things in place, I just dumped it all out, took off the plastic and started over.
And this is the finished product. Even without the plastic for protection, you still need to spray the plants.
Later I tried another small one. No plastic on this one. But based on my experience, I would recommend larger rather than smaller, unless you can find a small one with a deep well. Larger and deeper wells just give you more room to play with and make a more stable arrangement. Again, choose wisely.
Get your cuttings ready the day before you plan to decorate the pumpkin so the ends can dry and scab over, just like you should always do when planning to plant cuttings. Then after it is done, I would spray with water every other day or so to keep the succulents happy. Try not to put them in the darkest part of the house; They do like sun and light. Most of the cuttings will root, in or out of the dirt. Most will root; some will not. Don’t be discouraged; that’s just the way it works. When it is time to redecorate with the changing holiday, take the plants off the pumpkin. The viable cuttings, even some that didn’t root while on the pumpkin, can be planted in dirt in another container, and you have a new arrangement to play with. Put the empty cleaned off pumpkin in a dry, safe place and see if it makes it to next season.
I suspect if you look on Pinterest you can find directions to do the same thing. I didn’t. I simply stole the idea from an upscale interior decorating store in the Austin area. People steal ideas all the time. And I just learned as I did it. This larger one one sold for $75. My big ones sold for $30 and $15. But the fun was making them.
So if it is too late to try it this year, keep it in mind for fall decorations next year. It really is fun and pretty to have as a centerpiece instead of a pile of non-descript pumpkins.
The hardest part is picking out the pumpkin; they are all so unusual and magical. Take your time and have fun!
I LOVE this! So beautiful. Will definitely have to keep it in mind for next fall.
Good! Glad to share some new ideas.