The Russian sage was not performing well. I realized that part of the garden had nothing going on; it was basically wasted space. Then I watched a Cactus and Succulent Society of America webinar with Kelly Griffin talking about agaves. He shared a picture of one of his agave beds, and, well, I was inspired! I have plenty of agaves, but not clustered in a single bed like the one he showed us. So that became my new mission: plant a bed with a nice variety of impressive agaves that would be new to my collection.
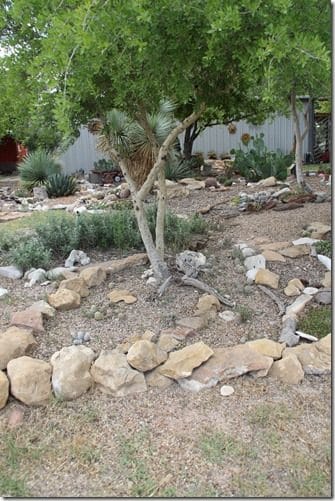
This is what the bed looked like before I dug out the Russian sage.You can also see the New Mexico privet, the small tree in the middle, that had to come out as well as a few cactus and some rocks. The sage is behind the tree, and while it looks fair from a distance, it never bloomed well and just didn’t look good enough to take up the space. Perhaps in another bed in another location it would be happier, so I gave some of it away.
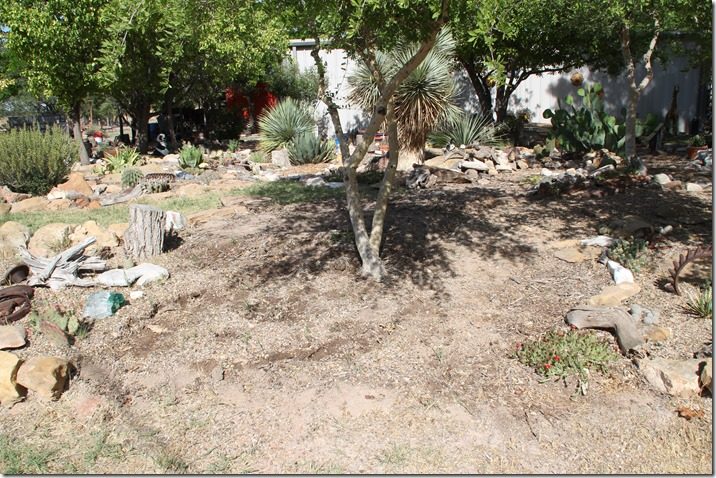
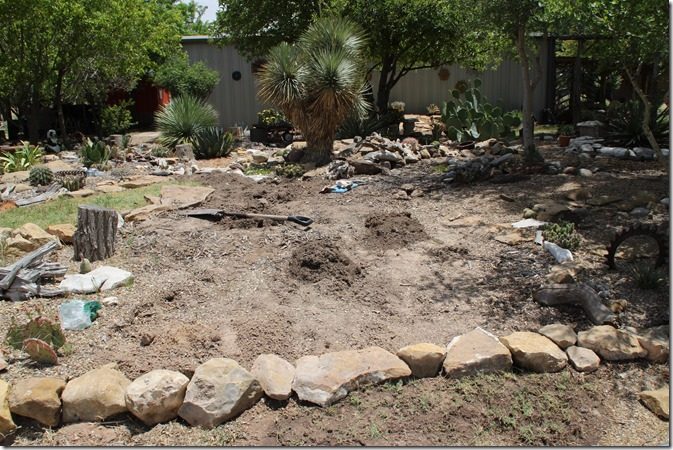
So this is what it looked like after the sage and other things were gone.
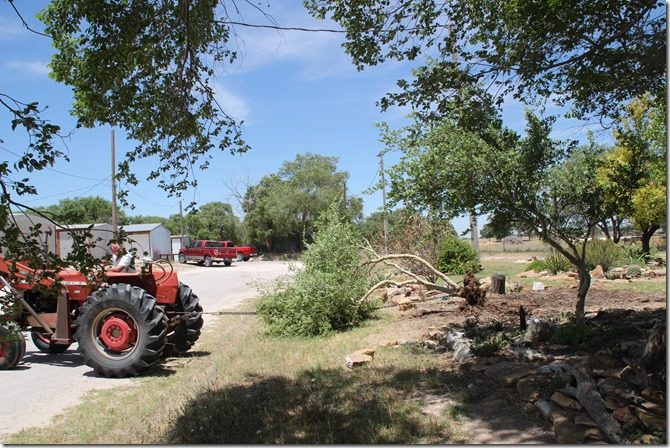
Bill hooked it up to the tractor, and out came the tree. I was sorry for the tree, but I had to sacrifice it.
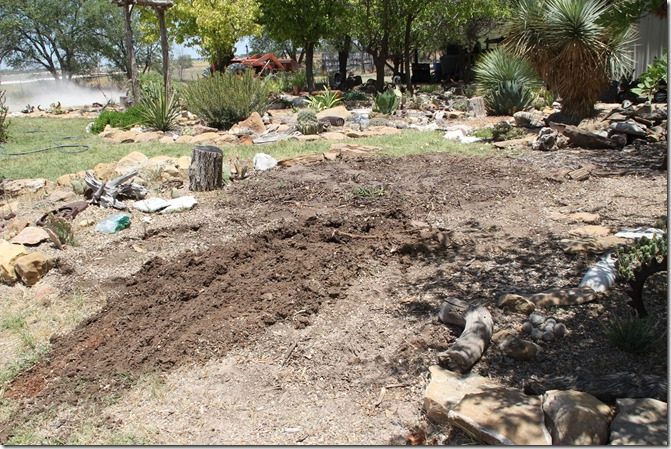
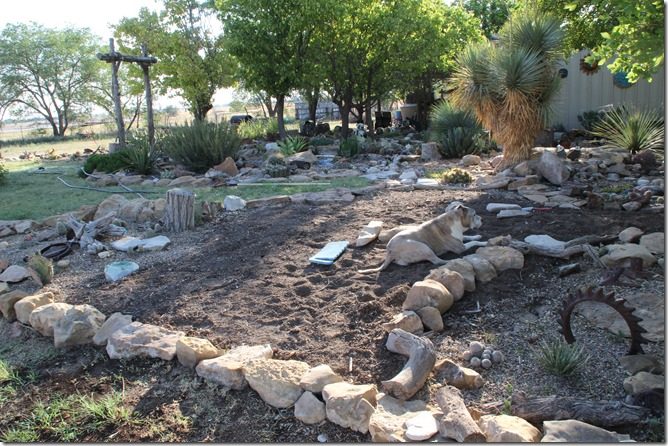
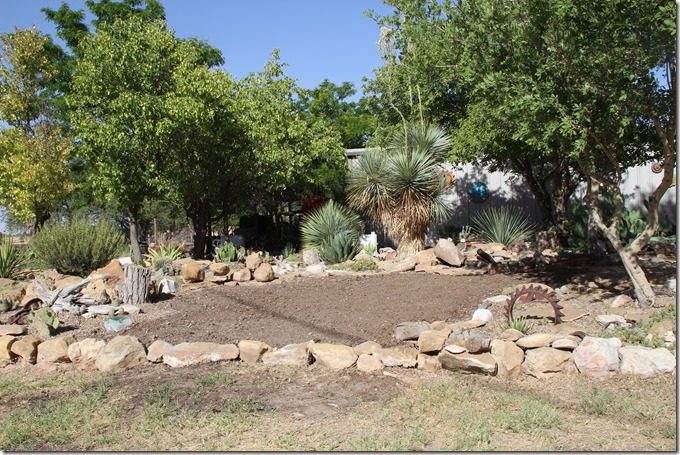
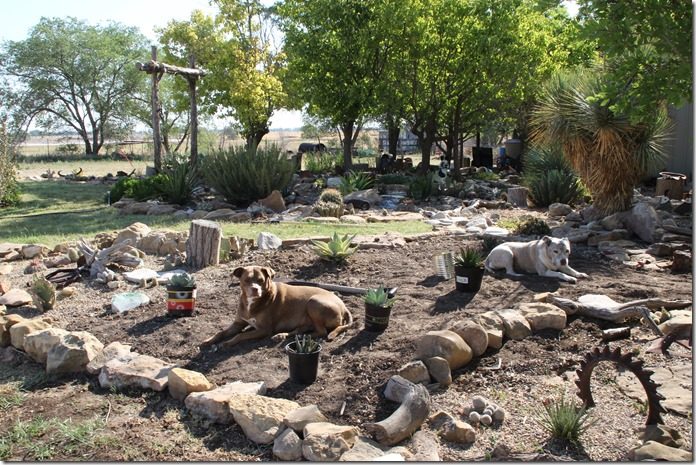
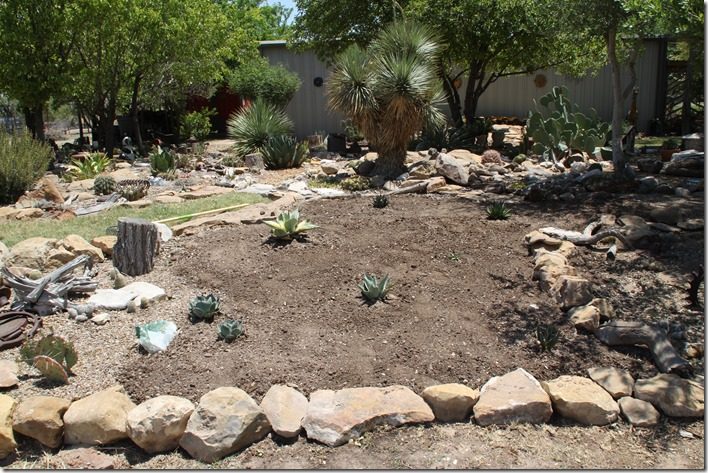
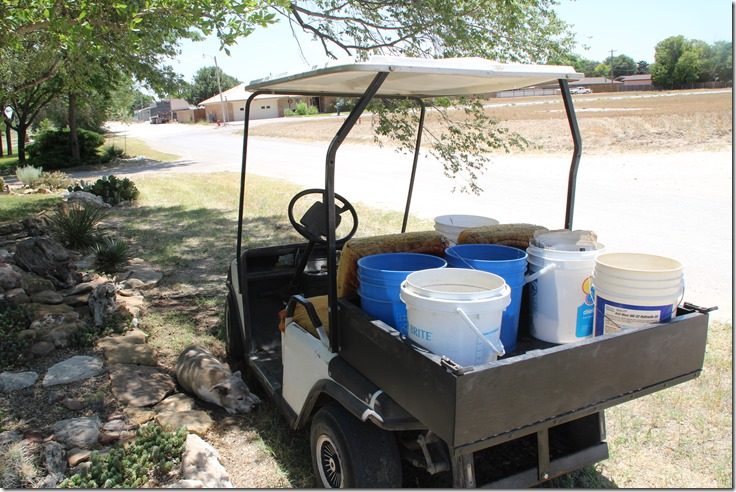
The next step was to put back the rock border that had to be moved for the tree to come out. The cactus would be relocated later.Then I needed to add dirt. Using my modified golf cart, I hauled in dirt from my compost pile. I put the dirt in five-gallon buckets, filling them about half full, which made them easier to handle and put the dirt in the places where it needed to go.
I had lots of help and company from Mari as I added the dirt, which she seemed to think was added for her to make into a bed.
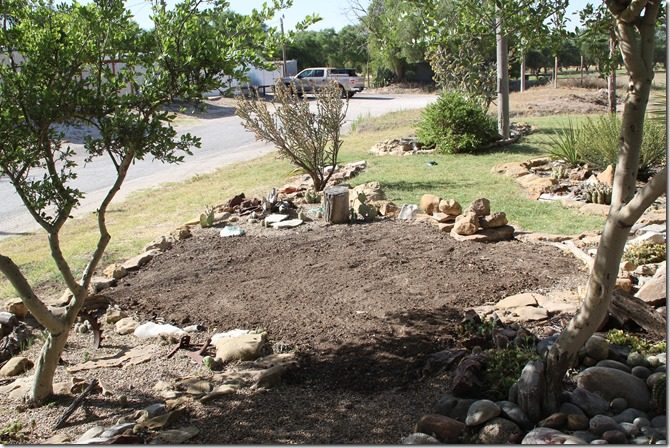
Here you see the dirt completed and ready for agaves.
I had shopped Lubbock and even made a trip to Cactus Town in San Angelo accompanied by friend Pat looking for agave varieties I didn’t already have for the new garden. We also stopped at another nursery in San Angelo and one in Big Spring on the way home. I found an agave later later in Kyle when we went to Maya’s graduation, but it turned out to be a slightly different variety of one I already had. At any rate, now it was time to decide which ones to use for a nice mix and place them in a pleasing manner. Had a little help from both Mari and Porche this time.
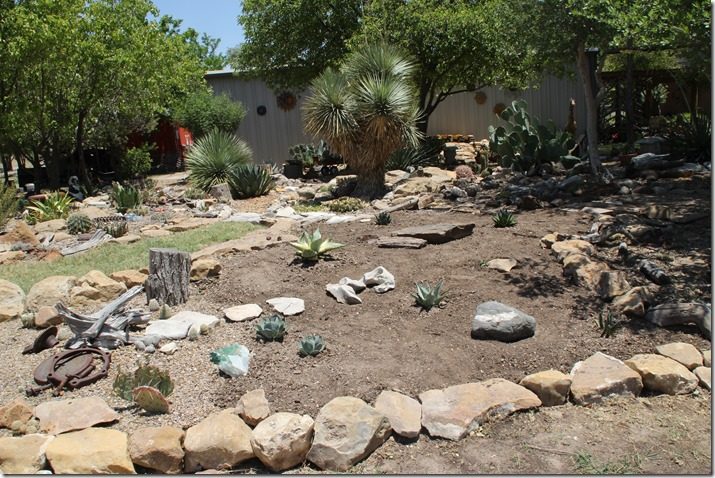
It was necessary to place these young agaves far enough apart to allow for their growth. I checked how big each one was supposed to get, so the bed looks a bit empty at this point.
As luck would have it, I had surplus rocks taken out as I was laying out the new bed, so they seemed like the logical way to fill in some of the empty spots.
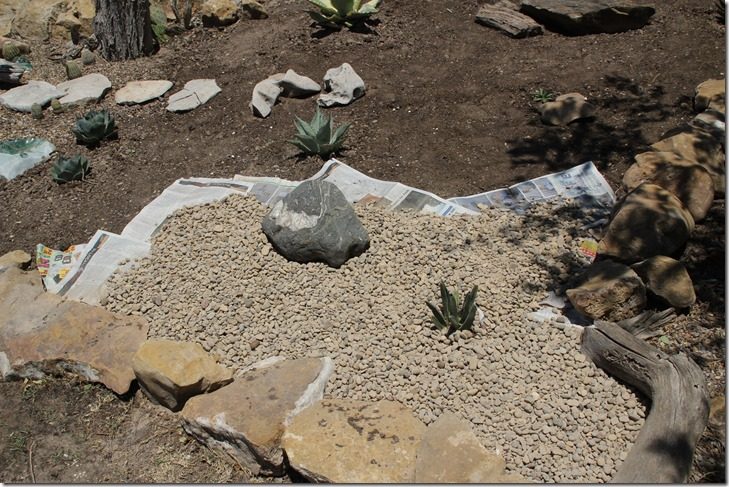
Now it was time to add the top dressing, gravel lined with newspaper so the gravel doesn’t just eventually work its way into the dirt over time and get lost.
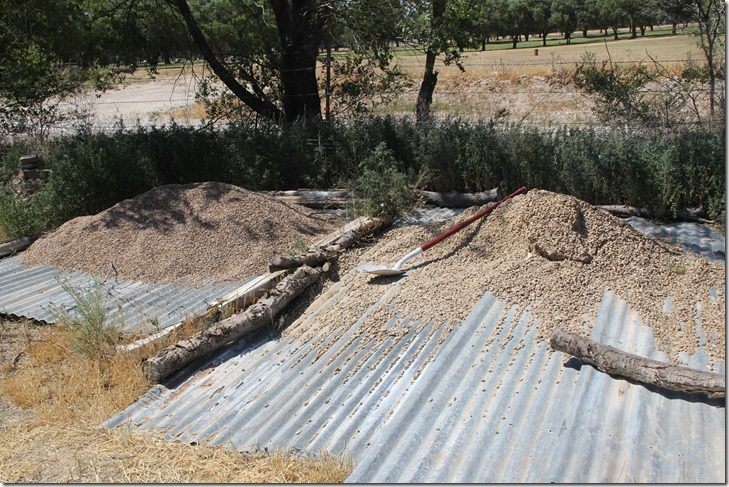
My modified golf card was a lifesaver for hauling the dirt and now the gravel from the gravel pile. I definitely filled the buckets just half full with gravel so it was easier for me to load them into the cart.
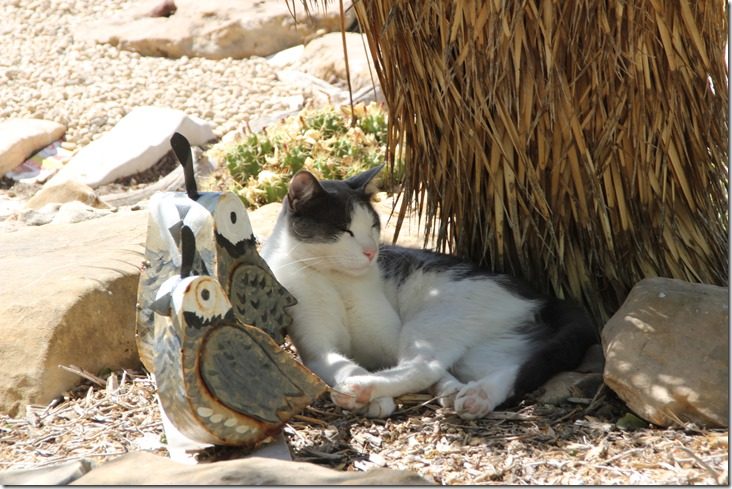
I also had company from Frosty Cat. He tended to watch from the sidelines.
After several trips to the gravel pile, it was done.
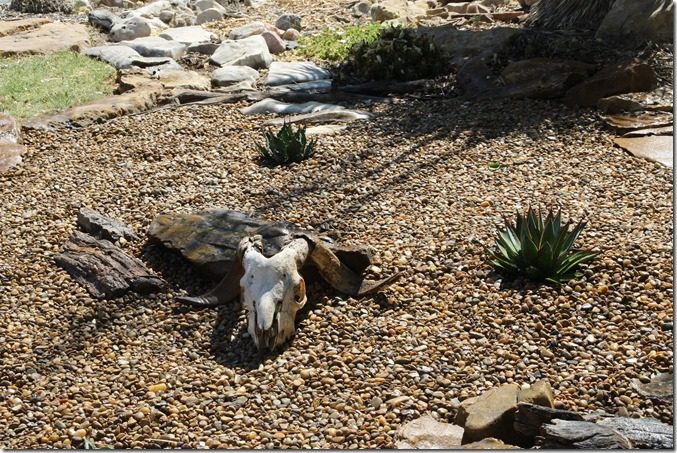
But it it needed a little something else. This goat skull I found in the wood chips supplied by the Asplundh people seemed like a good choice.
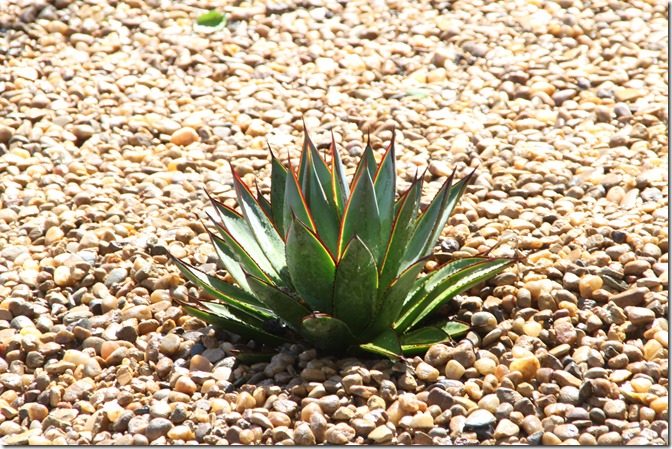
So here’s what made the cut and are happily growing in their new home. First is this blue glow agave. This will make a medium to large-sized plant.
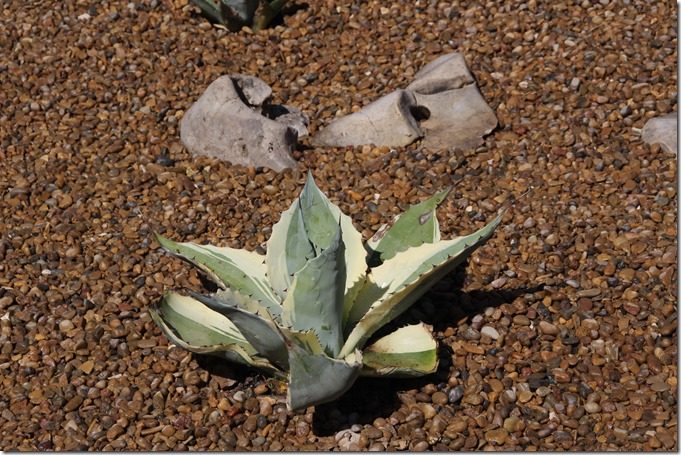
This is the Agave ovatifolia v. variegata, ssp. flipper. It had some frost damage, but is already looking better. It will also grow to be one of the larger specimens in the garden.
I also planted a regular A. ovatifolia, commonly called a whale’s tongue agave, which will become a large-sized plant.
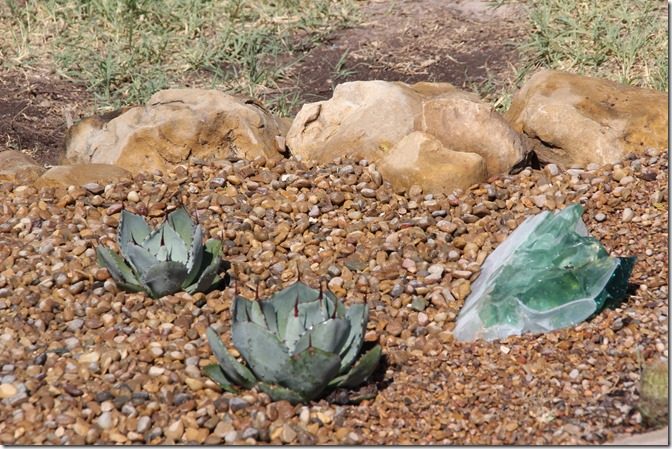
I included two versions of an A. parryi trucata, commonly called an artichoke agave. They both look pretty much the same now, so time will tell if they grow up to look different. They will grow up to be some of the smaller adult varieties.
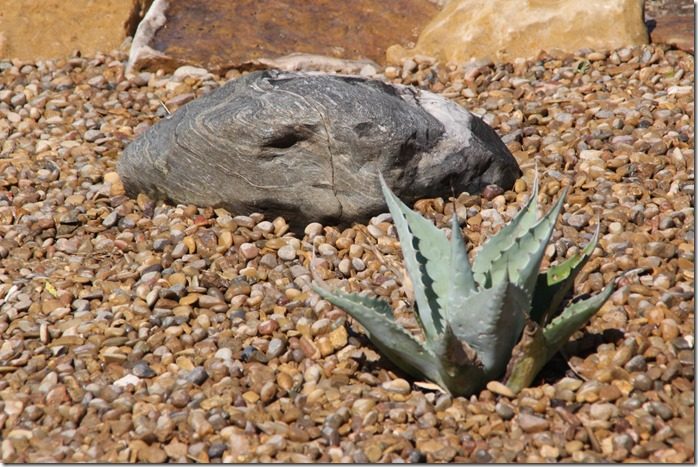
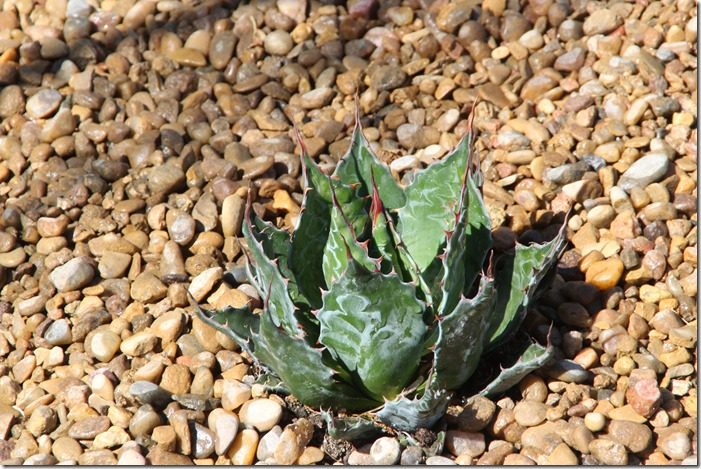
The A. montana is a really interesting variety that I am so glad I found. The leaves make indentions on the other leaves they touch, making patterns on each leaf. This agave will be one of the larger specimens as it grows. I look for it to be a real stand-out in the garden.
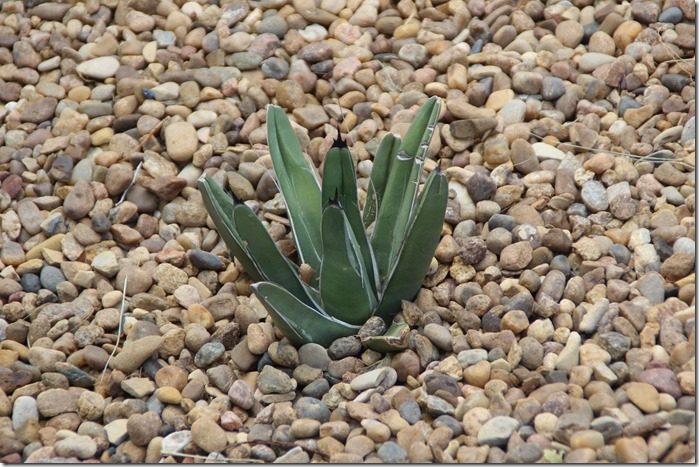
Agave victoria reginae King Ferdinand is a hybrid that will be one of the smaller agaves, but has a different look when compared to A. victoria reginae with the black terminal spines on the ends of each leaf.
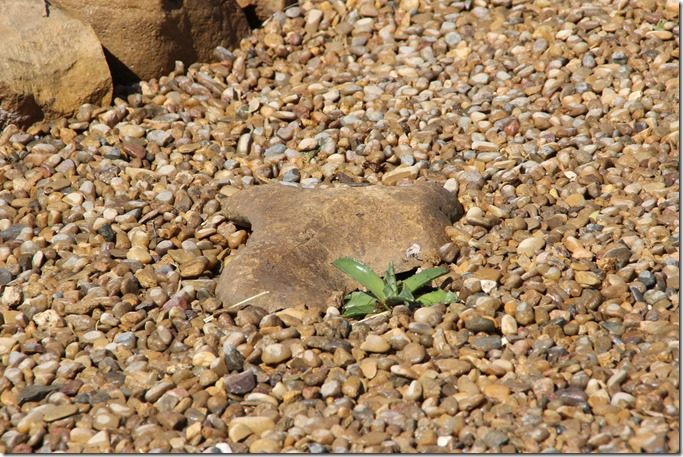
And finally, the tiniest one in the garden is this baby A. parryi ssp. neomexcana, an offset from a mature one in another part of my garden. I had to put a rock by it for protection and to make it easier to find until it grows up. It has already put on new leaves and seems very happy to be in the garden and out of its small plastic pot. It will make a small to medium-sized plant.
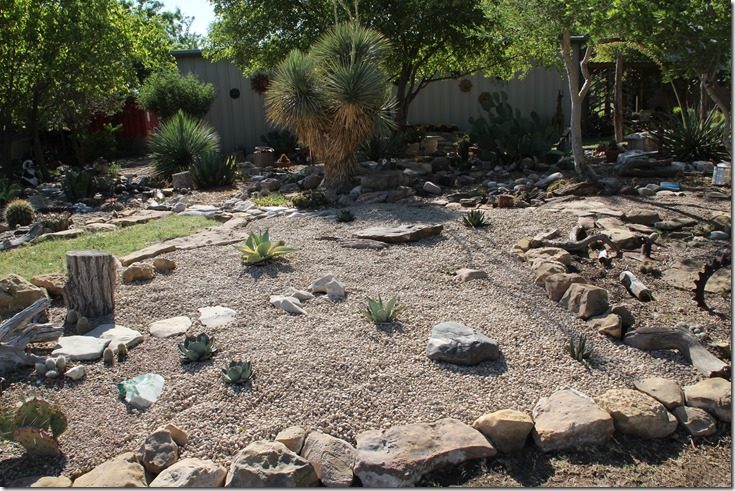
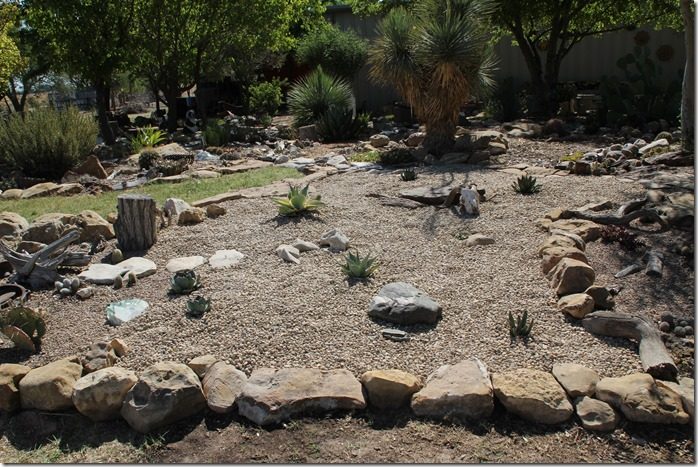
Here’s a look at the finished garden.
The bed may look a little empty now, but over time as the agaves grow, it will definitely fill up! I still may not have left enough room for growth, but I will have fun watching them grow and finding out. I will most likely protect them all this winter, as their cold-hardiness varies-maybe all winters just to make sure they are happy.
This is a nice addition to the rest of the garden, and I look forward to seeing the plants fill it up.
Recent Comments